
I love to make focaccia. Last year my sister started making it and I loved it so much I had to try it. It was my first successful foray into the world of yeast breads. After focaccia, I felt I could conquer all yeast breads!
Don't let the biga, or starter, scare you away from this recipe. There may be a lot of steps, but focaccia is really quite easy to make! Having fresh focaccia out of the oven is way better than you can imagine. So give it a try!
Since I "love" focaccia so much, here's Dean Martin singing "That's Amore!"
FOCACCIA
Adapted from an America's Test Kitchen recipe.
Yields two 9-inch loaves
The original recipe called for rapid rise instant yeast, but I found the focaccia loaves came out heavier when I used it, so I switched to regular active dry yeast.
BIGA
1/2 cup flour
1/3 cup warm water (100-110 degrees)
1/4 teaspoon active dry yeast
DOUGH
2 1/2 cups flour
1 1/4 cups warm water (100-110 degrees)
1 teaspoon active dry yeast
3 teaspoons Kosher salt, divided
4 tablespoons olive oil
2 tablespoons fresh or dried rosemary leaves
Fresh Parmesan cheese, grated
BIGA DIRECTIONS
- Heat water in microwave for 10 seconds on high in a microwave safe bowl--checking temperature with a cooking thermometer to make sure it is between 100 and 110 degrees. Add yeast and let sit for two minutes. Add flour and stir to combine. Cover with plastic wrap and leave out overnight or at least 8 hours. Biga will keep for up to 3 days in the refrigerator, but let it sit at room temperature for 30 minutes after removing from the fridge before making the dough. Even though it can be stored that long in the refrigerator, I prefer using it the next day.
DOUGH DIRECTIONS
- Heat water in microwave for 55 seconds on high in a microwave safe bowl. Add yeast and let sit for three minutes. Add flour and stir.
- Add biga to dough and stir until combined. Cover with plastic wrap and let sit for 15 minutes. Get used to setting a kitchen timer when making focaccia.
- Add 2 teaspoons Kosher salt to dough and stir until incorporated. Cover with plastic wrap and let sit for 30 minutes.
- Using a bowl scraper sprayed with Pam, fold dough over itself, turning the bowl 90 degrees. Repeat folding the dough 7 more times. Cover with plastic wrap and let sit for 30 minutes.
- Repeat the folding and sitting for 30 minutes two more times (with a total of three 30-minute risings).
- About 30 minutes before the dough goes into the oven, preheat it to 500 degrees with a baking stone in the oven when it is still cool. If you don't have a baking stone use an upside-down rimmed baking sheet.
- Prepare a clean counter surface and dust with flour. Using a bench scraper or sharp kitchen knife halve the dough. Take one-half and shape on the counter into a ball. Shape the other half. In a 9-inch round cake pan (I use Fat Daddio) coat the pan with 2 tablespoons olive oil and 1/2 teaspoon Kosher salt. Repeat for the second 9-inch round cake pan.
- Place a dough half right side down in the pan and gently circle in the pan to coat with olive oil and salt. Flip the dough right side up and coat the same way. Repeat with the second dough ball. Cover the pans with plastic wrap and let sit for 5 minutes.
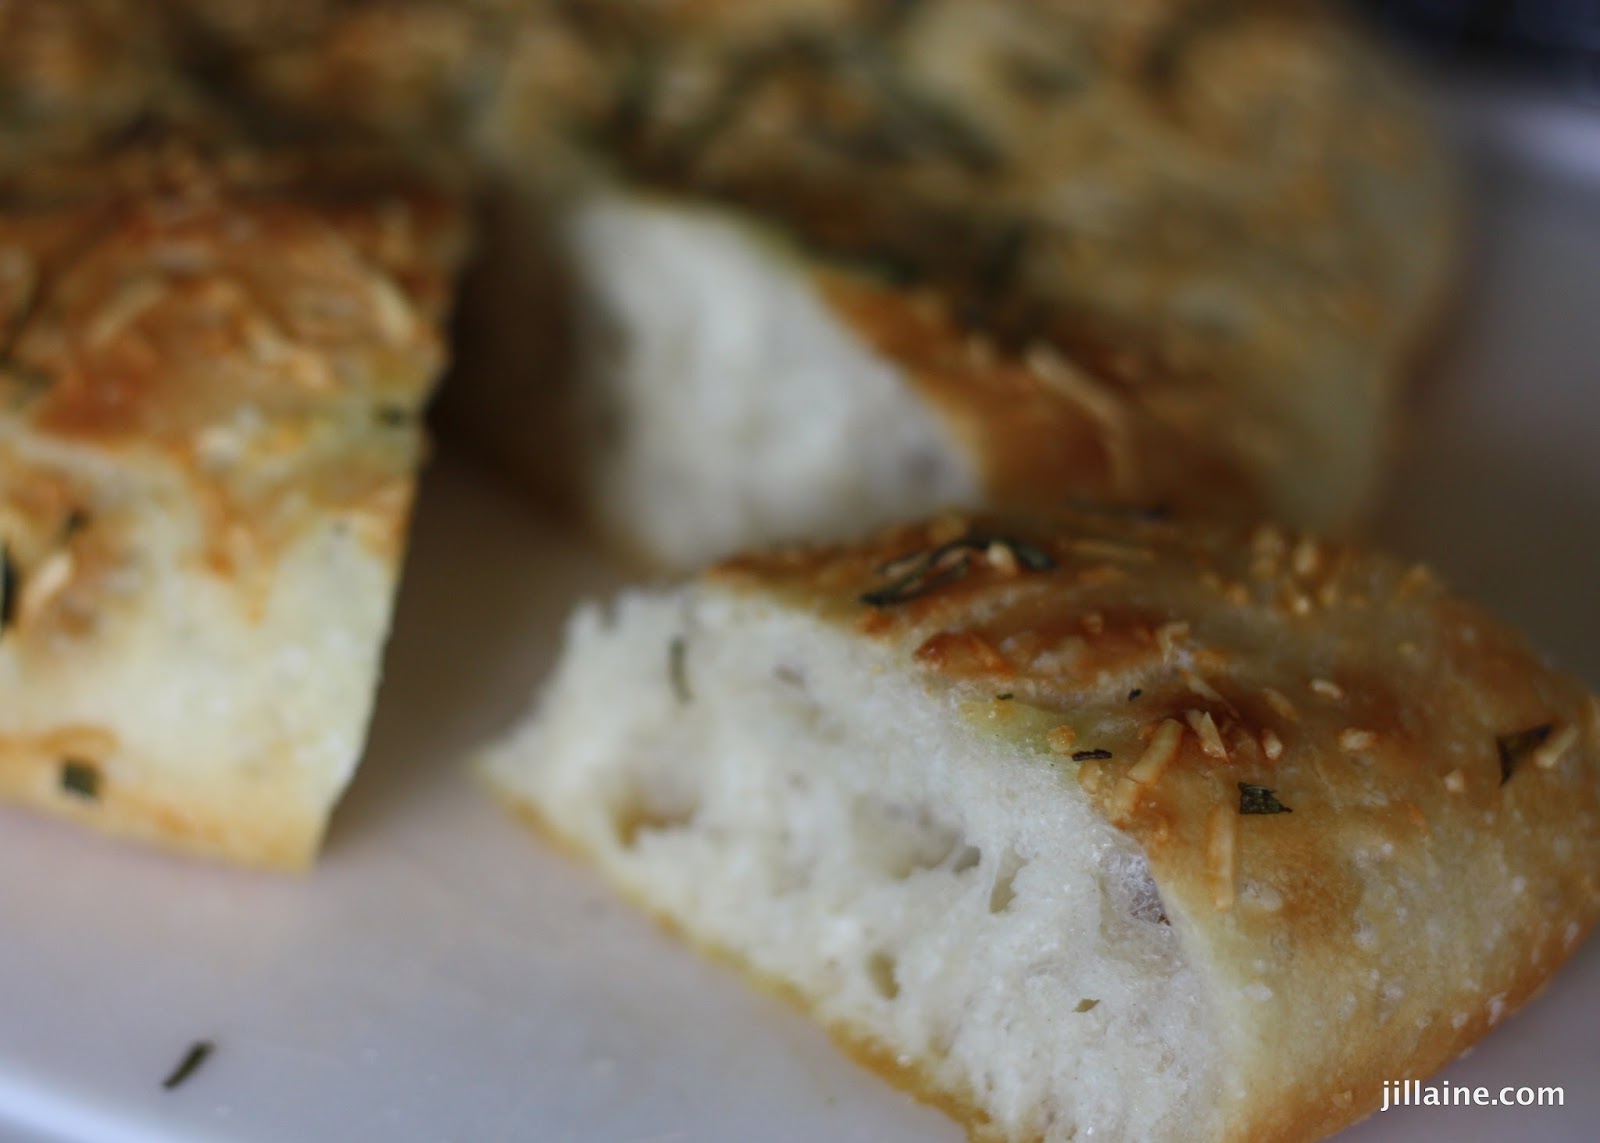
- Press dough with fingertips outward from the middle to the outside to stretch. Be careful not to tear the dough. If the dough resists stretching, cover and let sit for another 5 minutes. Poke dough with a fork 30 times to remove air bubbles. Sprinkle 1 tablespoon rosemary over each pan. (I used fresh rosemary from our garden.) Sprinkle Parmesan cheese to taste. Cover and let sit for another 5 minutes or until the dough appears bubbly.
- Remove plastic wrap and put pans in the oven on the baking stone or overturned baking sheet. Lower oven temperature to 450 degrees. Bake for 20 minutes or until the tops are golden brown. Put pans on a wire rack to cool for 5 minutes. Remove loaves from pan and let cool on wire rack. Don't put them on a plate as the bottom crust will get soggy. Serve immediately.
No comments:
Post a Comment